
Canning Peaches: Easy Homemade Recipe
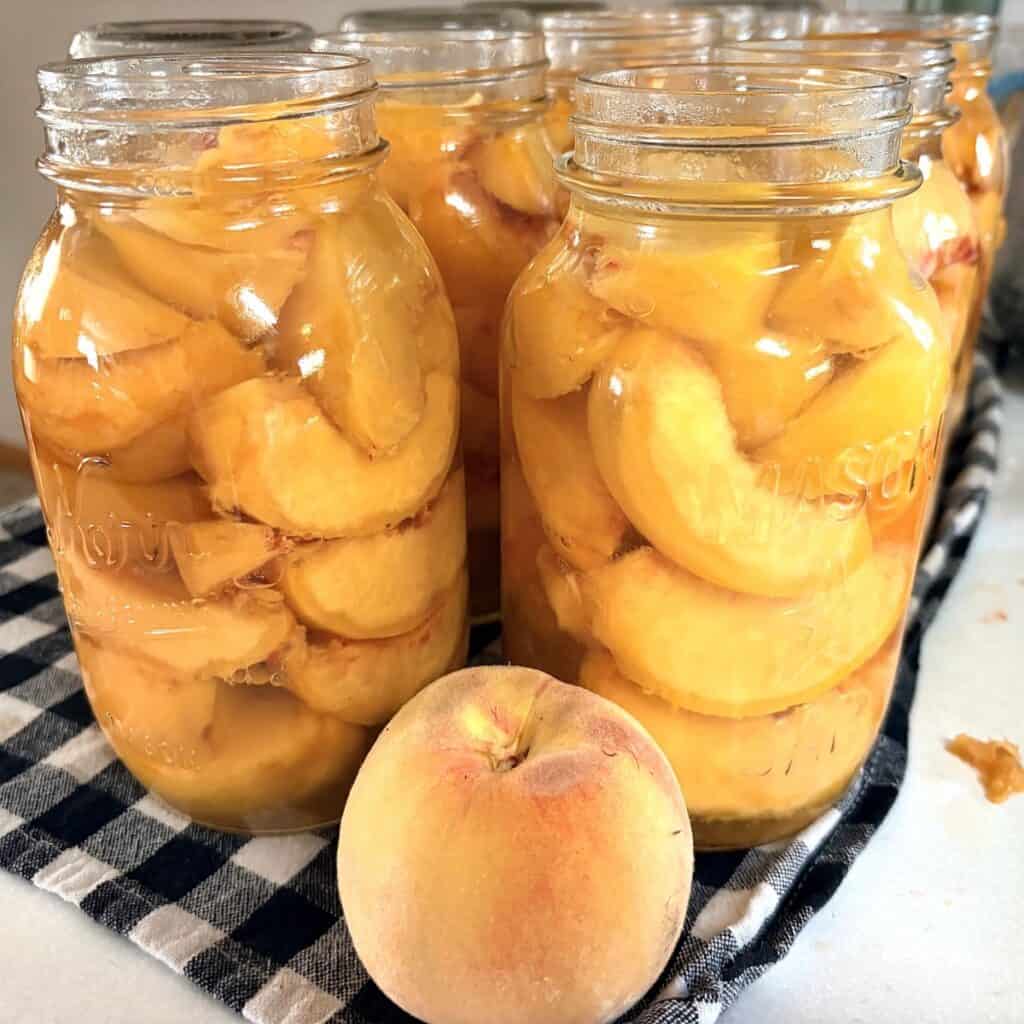
Canning peaches at home is simpler than most people expect, and there is nothing quite like opening a jar of your own peaches in the middle of winter. This recipe walks through the whole process, from picking the right peaches to a safe water bath canning method that will keep them shelf stable for up to a year.
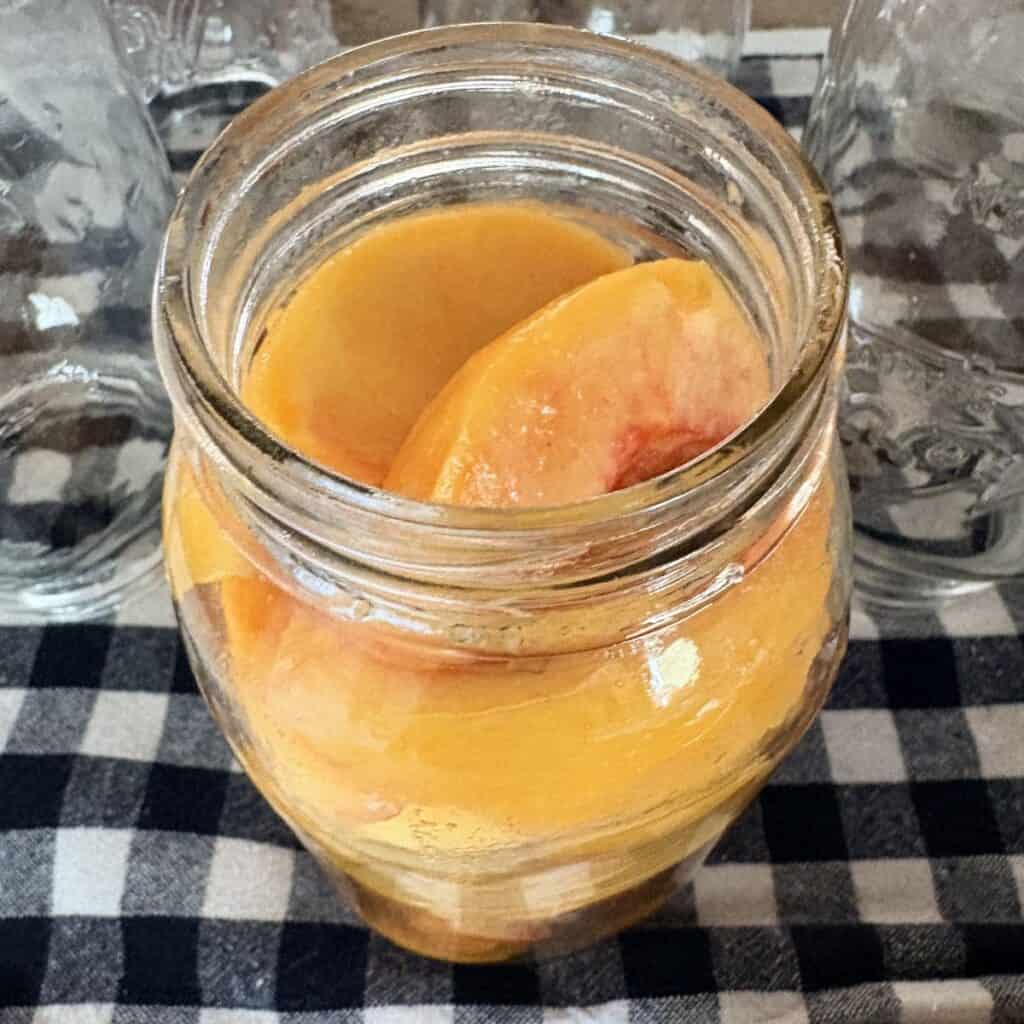
If you have already made my peach jam, you know how good home canned peaches can taste. This recipe takes that same fruit and preserves it whole, in slices or halves, so you can use them for pies, cobblers, or just eating straight from the jar.
What You Will Need
- Ripe, firm peaches (about 2 to 3 pounds per quart jar)
- Water or light honey syrup (recipe below)
- Canning jars, lids, and rings
- A large water bath canner
Light Honey Syrup Recipe (Optional)
- 12 cups water
- 1 cup honey
Combine and heat until the honey dissolves. You can also can peaches in plain water or juice if you prefer to skip added sweetener entirely.
How to Can Peaches
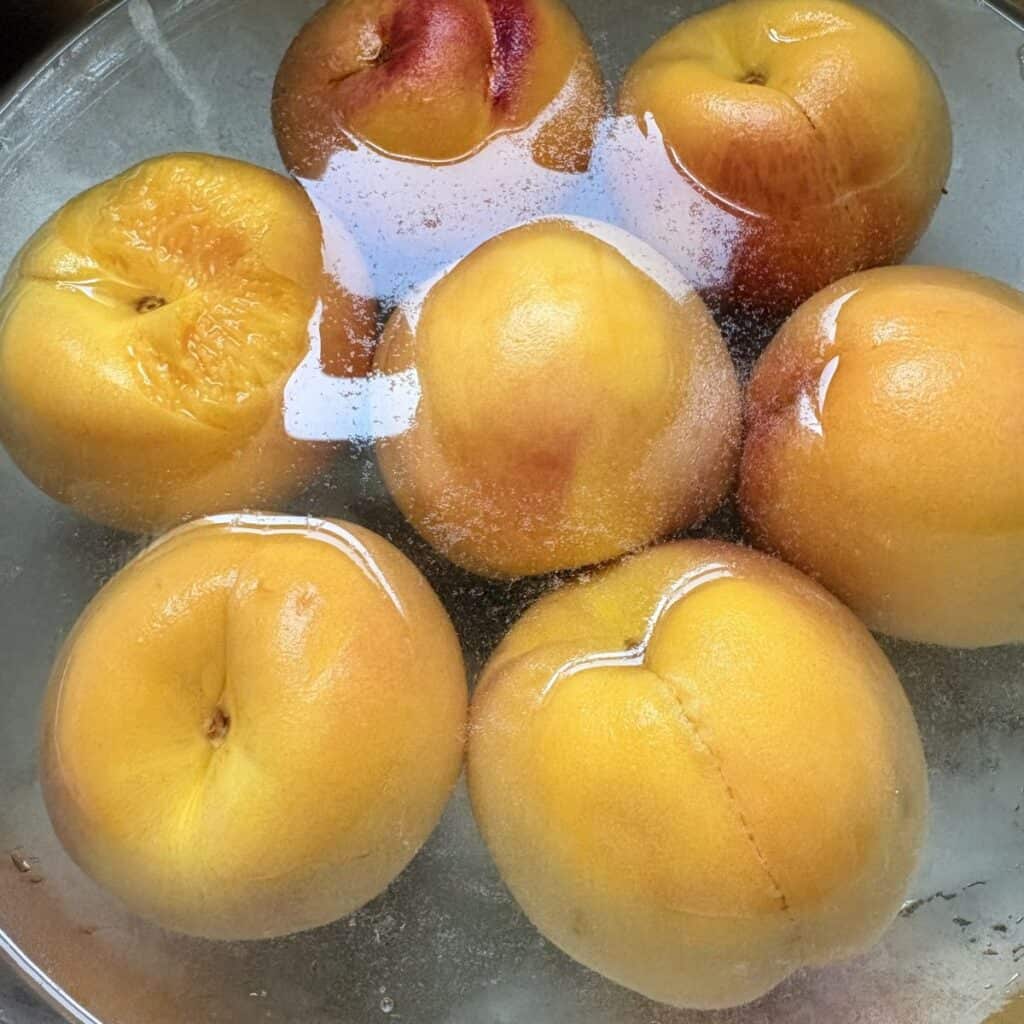
Step 1: Blanch and peel the peaches. Bring a large pot of water to a boil. Drop peaches in for 30 to 60 seconds, then transfer immediately to an ice water bath. The skins should slip off easily by hand.
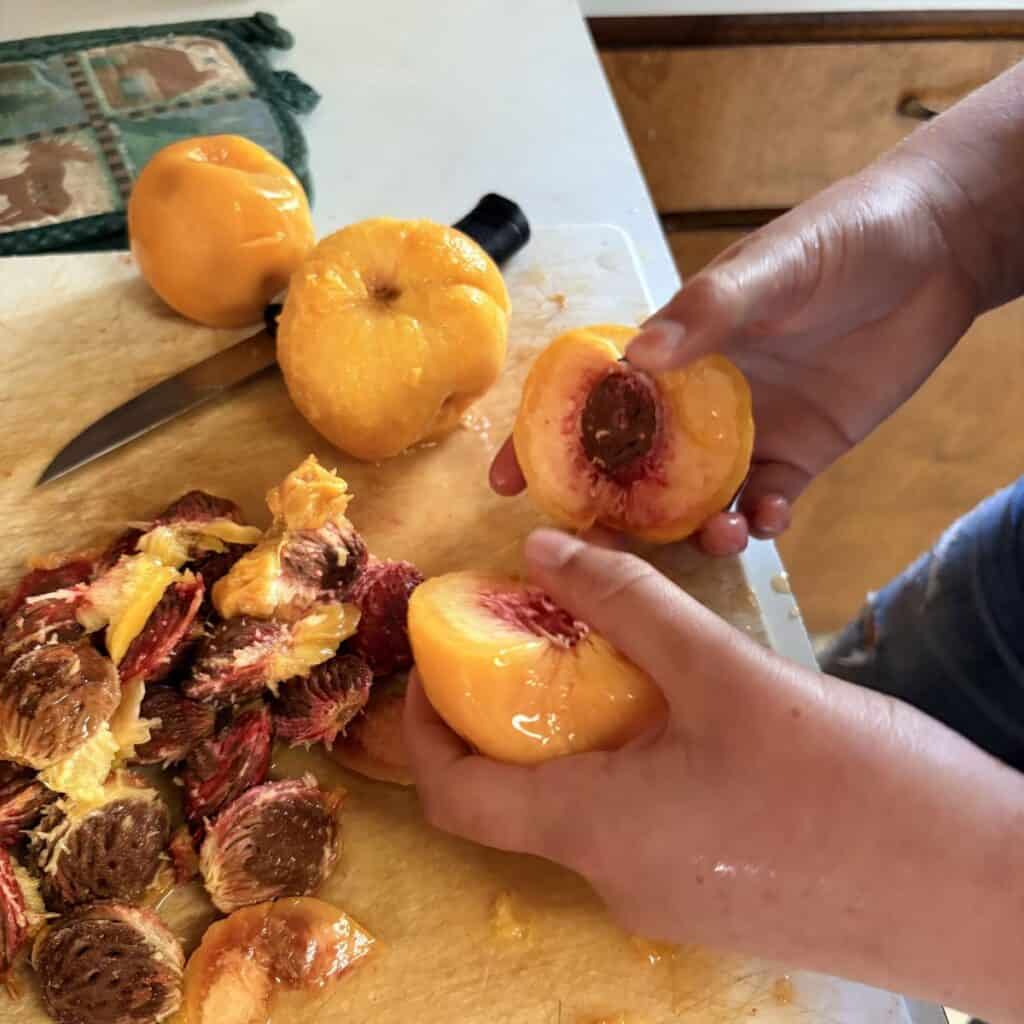
Step 2: Halve and pit. Cut each peach in half and remove the pit. Slice if you prefer, or leave in halves.
Step 3: Pack the jars. Pack peach halves or slices into clean, hot jars, cut side down, leaving a half inch of headspace.
Step 4: Add liquid. Pour hot syrup, juice, or water over the peaches, maintaining that half inch headspace. Remove air bubbles by running a thin spatula around the inside of the jar.
Step 5: Wipe, seal, and process. Wipe the jar rims clean, apply lids and rings until fingertip tight. Process in a boiling water bath: 20 minutes for pints, 25 minutes for quarts, adjusting for your altitude. Make sure your jars are fully submersed in the water and start timing when the water is at a full boil. Place the lid on the canner and wait for the timer to be done!
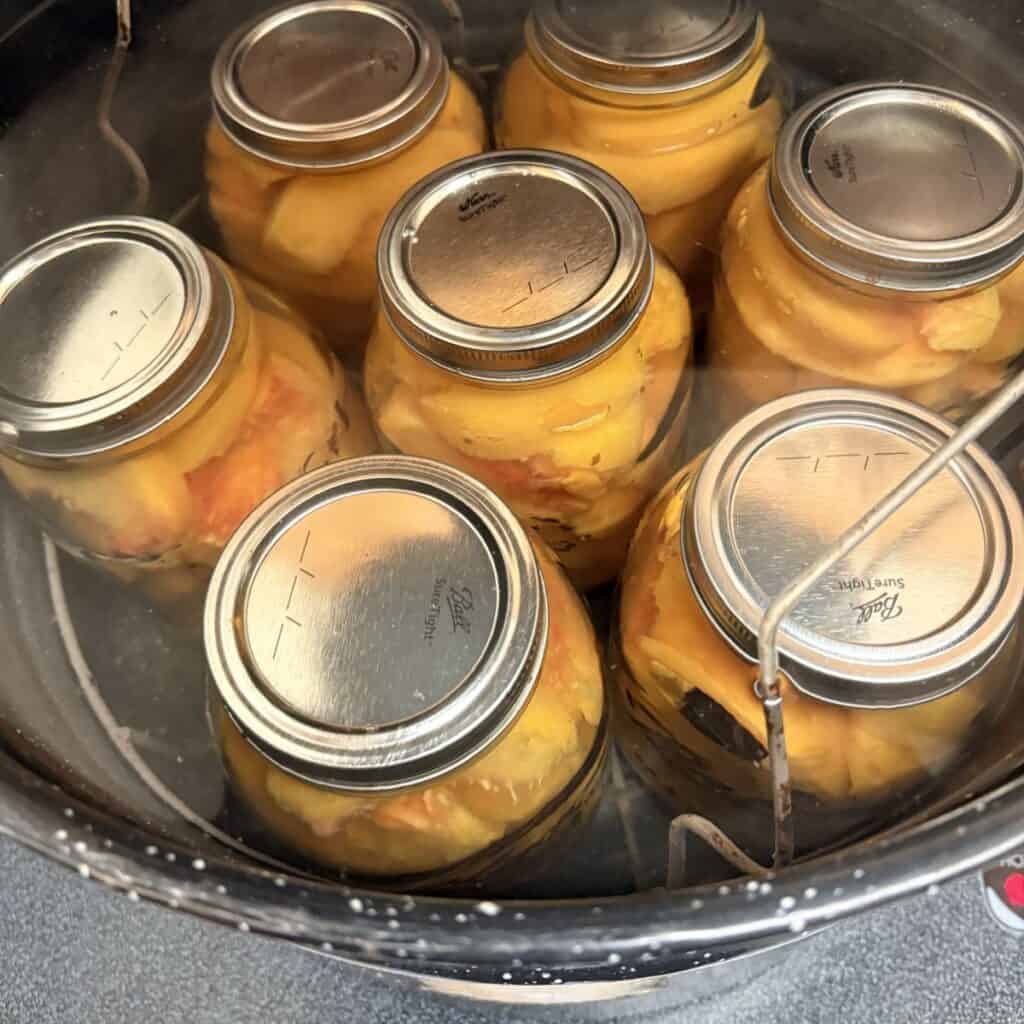
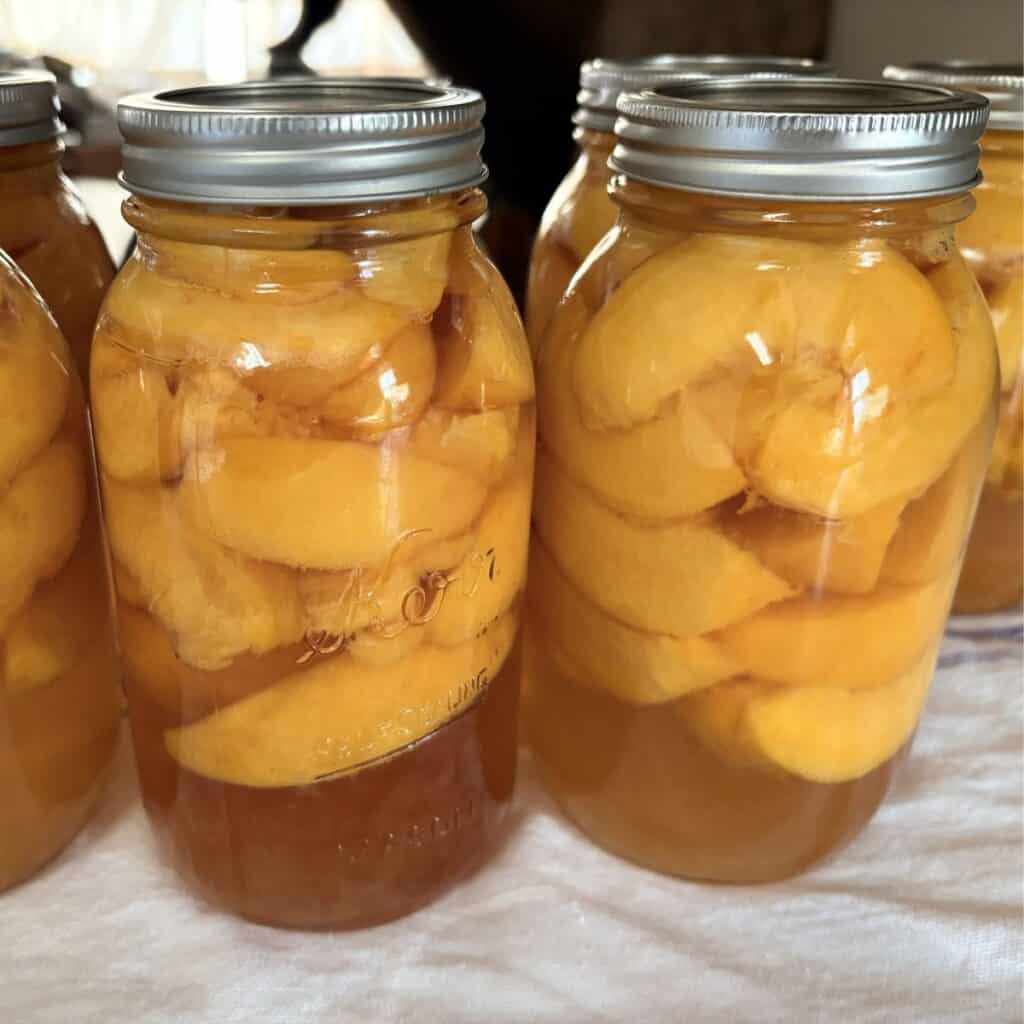
Step 6: Cool and check seals. Let jars cool undisturbed for 12 to 24 hours. Check that lids have sealed (they should not flex when pressed in the center) before storing.
Tips for the Best Canned Peaches
- Choose peaches that are ripe but still firm. Overripe peaches tend to turn mushy during processing.
- Freestone varieties are much easier to pit than clingstone, and worth seeking out if you plan to can a large batch.
- Always adjust processing time for your altitude. Higher elevations need longer processing times for safety.
Frequently Asked Questions
Do I have to use sugar syrup? No. Peaches can be safely canned in plain water, fruit juice, or a light syrup. The syrup affects flavor and texture, not safety.
How long do canned peaches last? Stored in a cool, dark pantry, properly sealed jars will keep their best quality for about a year, though they remain safe to eat longer if the seal holds.
Can I use frozen peaches? Canning is meant for fresh produce. If your peaches were previously frozen, it is safer to use them in cooked recipes rather than reprocessing them through canning.
Altitude Adjustments
These base times (20 minutes for pints, 25 minutes for quarts) are correct for elevations 0 to 1,000 feet. For higher elevations, add processing time as follows:
- 0 to 1,000 feet: no adjustment needed
- 1,001 to 3,000 feet: add 5 minutes
- 3,001 to 6,000 feet: add 10 minutes
- 6,001 to 8,000 feet: add 15 minutes
- 8,001 to 10,000 feet: add 20 minutes
So at 1,001 to 3,000 feet, pints would process for 25 minutes and quarts for 30 minutes. At 3,001 to 6,000 feet, pints would be 30 minutes and quarts 35 minutes.

Pin for Later


Canned Peaches
This recipe yield approximately 7 quarts (a full water bath canner batch).
Ingredients
- 15-20 lbs peaches , 2-3 lbs per quart
- 12 cups water
- 1 cup honey
Instructions
Step 1: Blanch and peel the peaches. Bring a large pot of water to a boil. Drop peaches in for 30 to 60 seconds, then transfer immediately to an ice water bath. The skins should slip off easily by hand.
Step 2: Halve and pit. Cut each peach in half and remove the pit. Slice if you prefer, or leave in halves.
Step 3: Pack the jars. Pack peach halves or slices into clean, hot jars, cut side down, leaving a half inch of headspace.
Step 4: Add liquid. Pour hot syrup, juice, or water over the peaches, maintaining that half inch headspace. Remove air bubbles by running a thin spatula around the inside of the jar.
Step 5: Wipe, seal, and process. Wipe the jar rims clean, apply lids and rings until fingertip tight. Process in a boiling water bath: 20 minutes for pints, 25 minutes for quarts, adjusting for your altitude.
Step 6: Cool and check seals. Let jars cool undisturbed for 12 to 24 hours. Check that lids have sealed (they should not flex when pressed in the center) before storing.
Notes
These base times (20 minutes for pints, 25 minutes for quarts) are correct for elevations 0 to 1,000 feet. For higher elevations, add processing time as follows:
- 0 to 1,000 feet: no adjustment needed
- 1,001 to 3,000 feet: add 5 minutes
- 3,001 to 6,000 feet: add 10 minutes
- 6,001 to 8,000 feet: add 15 minutes
- 8,001 to 10,000 feet: add 20 minutes
So at 1,001 to 3,000 feet, pints would process for 25 minutes and quarts for 30 minutes. At 3,001 to 6,000 feet, pints would be 30 minutes and quarts 35 minutes.
Nutrition Information:
Yield: 35 Serving Size: 1Amount Per Serving: Calories: 4Total Fat: 0gUnsaturated Fat: 0gSodium: 3mgCarbohydrates: 1gFiber: 2gSugar: 1gProtein: 0g