
Starting Seeds in Compost: In the Garden vs Indoors
Starting seeds in compost is an inexpensive way to grow healthy plants. You can have success starting seedlings in containers using compost if you take a little bit more care with watering and airflow. If you are planting directly into your outside garden, planting seeds in a thick layer of compost over your existing soil is a great way to improve your soil and give your plants the best start.

What is Compost?
Compost is a crumbly, earthy-smelling, dark colored material that is a result of decomposition of organic matter. It can be made from grass clippings, leaves, wood chips, and many other organic materials. Compost can be made at home, purchased by the truckload from garden centers, or purchased in bags similar to potting soil. It contains major and minor nutrients necessary for plant growth and can improve your soil structure. Learn more about compost and composting here.
Types of Compost
The type of compost you choose for seed starting indoors or outdoors will have an impact on your success. There are many different types of compost from homemade compost to bagged compost, and each kind can be useful in different applications. Choose the right compost for your project!
Bulk Compost
If you have a large garden like I do and you are starting seeds in the garden, you need truckloads of compost. I buy my bulk compost at my local garden center. It is certified herbicide free and the best compost I have tried. This mature compost is made at a local agricultural university from wood chips and livestock bedding. It has a wonderful earthy smell and a fine texture that works great for seed germination.
Homemade Compost
You can make compost at home with leaves, coconut coir, grass clippings, kitchen scraps, cow and horse manure, worm castings, and other organic material. You can make compost by simply piling the materials and waiting for nature to work its magic, adding materials to a worm bin with worms, or your can use a compost bin to speed up the process.
Successful composting depends on the right mixture of brown and green waste. Learn more about making your own compost at home and composting best practice here.
When you are making your own compost, you want to make sure that there are no herbicides introduced into your compost from manure or grass clippings. Many herbicides will stay active in the compost even through the composting process and can damage your plants or prevent germination.
Another consideration with homemade compost is introducing weed seeds to your garden. It is a good idea to make sure your compost has reached a temperature of 130 degrees F to kill weed seeds.
Bagged Compost with Peat Moss
Peat moss is sometimes added to compost to speed the composting process, reduce odors, increase bulk, and control air and water in the compost pile. It is sterile, so adding it to compost as a carbon source can reduce disease issues.
Peat is slow to accumulate, so the current use rate of the resource is considered unsustainable. For this reason, I recommend skipping the peat moss in your homemade compost and avoiding it in any purchased compost if alternatives are available. Avoid peat-based composts if you can.
Bagged Peat-free Compost
If you choose to use peat-free compost, you will need to look for the peat-free label on the product. If a bag of compost does not say peat-free, it likely contains peat. Some gardeners choose peat-free composts because peat is a non-renewal resource and peat bogs are disappearing around the world because gardeners are demanding the use of this resource. A good peat-free compost may cost more than other bagged compost.
Mushroom Compost
Mushroom compost is a byproduct of mushroom farming. It is the growth medium used to grow mushrooms. After the mushrooms are harvested, the substrate is bagged and labeled as spent mushroom compost. Mushroom compost is not suitable for starting seeds as it is high in soluble salts and other nutrients that can kill germinating seeds. Mushroom compost is often used as a top-dressing for lawns, tilled into native soil, or added to orchards.
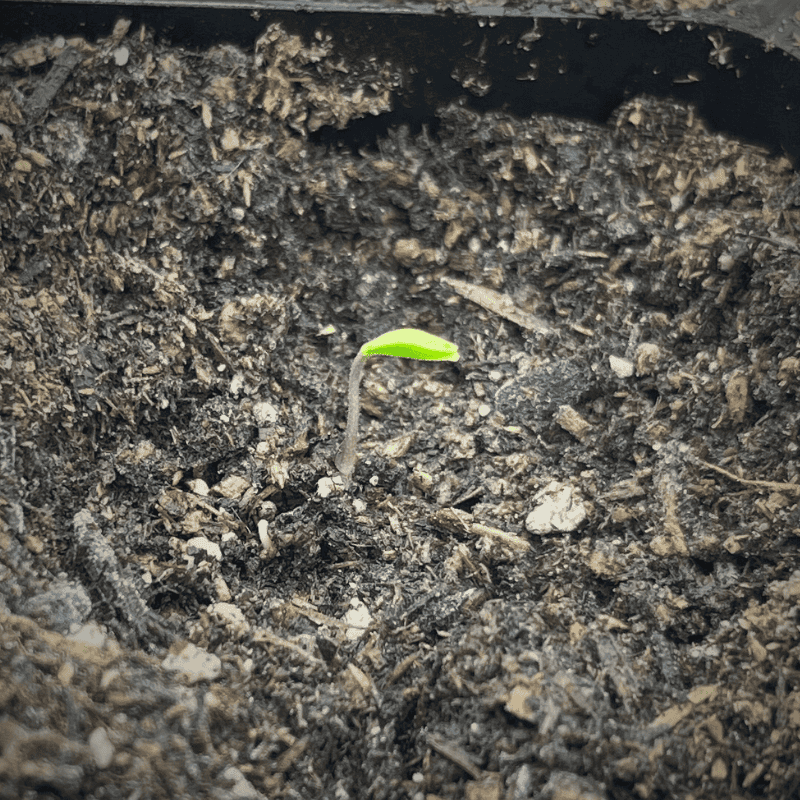
Starting Seeds in Compost Indoors
Using compost instead of potting soil to start seeds can save money, but there is a big risk: damping off disease.
Soil-born fungal diseases that attack seeds and seedlings are grouped and called damping off disease. These fungi damage young plants during germination and early growth. Damping off disease can cause seeds to rot before germination. It can also cause newly germinated seedlings to wilt and decay. This often kills the seedling.
Compost tends to hold water longer than potting soil, so damping off disease can be a problem. Make sure your seed trays have good drainage, avoid over-watering, and provide ventilation to ensure healthy seedlings.
For more information about starting tomatoes from seed, go here.
Starting Seeds in Compost Outdoors
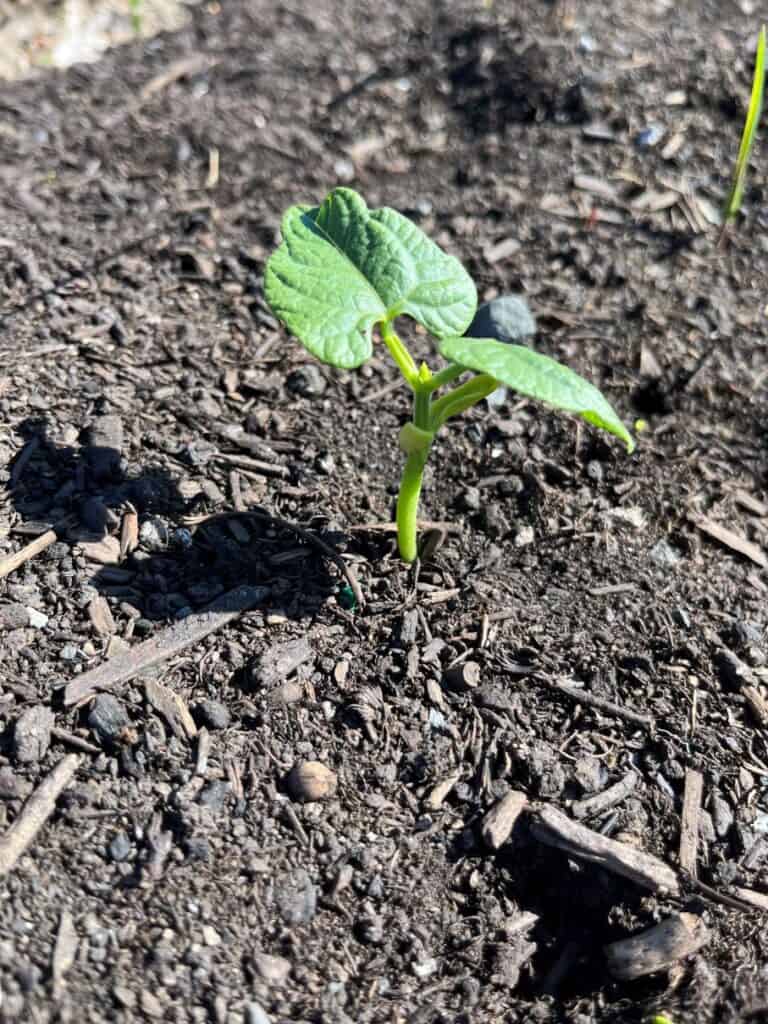
If you have clay soil in your vegetable garden like I do, using compost (and lots of it) is a great way to improve seed germination rates and your soil! This method has worked for direct sowing green beans, peas, corn, all kinds of squash, pumpkins, and cucumbers.
This method works especially well with green bean germination. I always had trouble germinating green beans in clay soil until I started germinating them in compost on top of the clay!

I don’t direct sow tomatoes or peppers in my garden because my growing season isn’t long enough. In my area, tomato seedlings must be started indoors 6-8 weeks before the last frost date. They are planted outside once all danger of frost has passed.
Preparing Garden Beds for Direct Sowing in Compost
I have been using this method in my garden for several years now. Using paper with compost on top serves to feed my plants, reduces weeds, and improves the soil structure. I usually do this at the time of year when I am planting my warm-weather vegetables in the garden.
- Start by removing any weeds in your planting area.
- Roll out 1 or 2 layers of unbleached paper on top of your garden soil. You can also use newspaper or paper grocery bags. You can purchase a big roll of unbleached paper here.
- Pile a thick layer of compost on top of the paper. I like to place 3-4 inches of compost on top of the paper.
- Spread the compost out evenly so you have a level planting surface.
- Plant your vegetable seeds directly in the compost at the depth recommended on the seed packet.
- Water the area well. Check the moisture of the compost every couple of days to make sure it doesn’t dry out before seeds germinate.
Tip: Your baby plants will send roots down through the paper into the native soil. The paper and compost will serve as mulch that will prevent weeds and hold in moisture. Less watering and weeding is always a great idea!

Other Considerations
I have also had great success mulching with compost after germination. I have always struggled to grow good corn in my clay soil.
Last year, I germinated my corn seedlings in my native garden soil. Once they had all surfaced, I laid down the unbleached paper and compost between each row. I grew the most productive corn crop I have ever grown using this method. My mature plants were over 6 feet tall!
Pin for Later


East Fork Growing LLC is a participant in the Amazon Services LLC Associates Program, and the NutriMill affiliate program. These affiliate advertising programs are designed to provide a means for us to earn fees by linking to Amazon.com, NutriMill.com and affiliated sites. These products do not cost anymore to you, but we earn a small commission if you use our links. Thanks for your support!
Love this! I have several raised beds and I love gardening! Thank you for the great info!
Glad I could help Kelly!
So much good info! Thank you for sharing!
Glad you found this helpful Maddie!
Great info, thank you!
Glad this was helpful!